Enabling Disqus comments
What is Disqus and why use it for WordPress?
Disqus is a popular external commenting system that can be integrated into various websites, including WordPress. It operates via client-side scripting, which means it can function perfectly on static sites.
Disqus stands out for its ease of use, social media integration, and effective spam filtering. It’s a robust platform that not only facilitates user engagement but also enhances the overall user experience on your site.
Installing the Disqus plugin
- Access your WordPress dashboard: Log in to your WordPress admin panel.
- Navigate to plugins: Go to ‘Plugins’ > ‘Add New’.
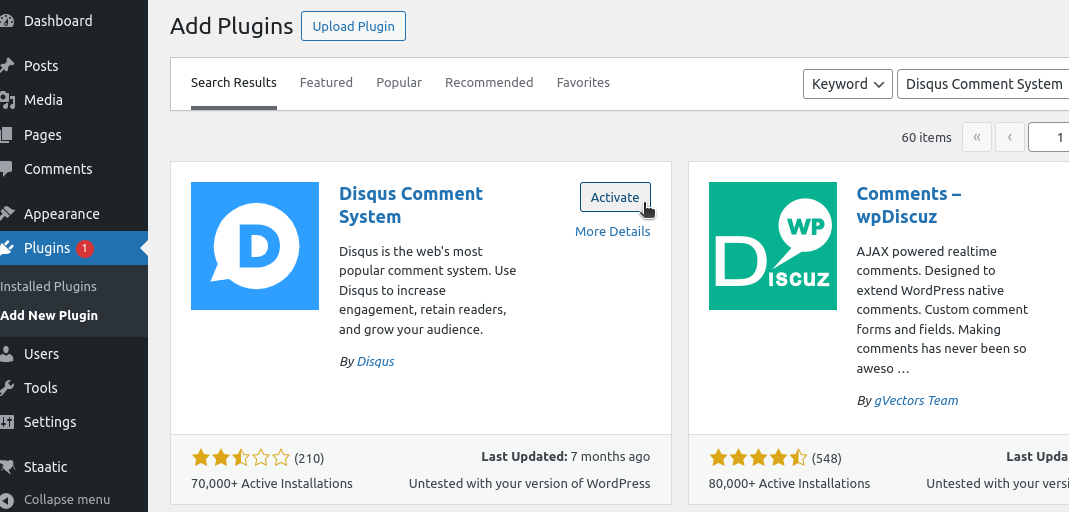
- Search for Disqus: In the search bar, type “Disqus Comment System” and press enter.
- Install the plugin: Find the Disqus plugin in the search results and click ‘Install Now’.
- Activate the plugin: After installation, click ‘Activate’.
Setting up a Disqus account
- Visit the Disqus website: Go to Disqus.com and click ‘Get Started’.
- Create an account: Choose a method to sign up (email, Facebook, Twitter, or Google account). Follow the prompts to complete the registration.
- Configure your site: After registration, you’ll be prompted to add your site details. Fill in your site name, choose a unique Disqus URL (this will be your ‘shortname’), and select a category for your site.
- Obtain API keys: Navigate to the Disqus API page. Create a new application to obtain your API public key, secret key, and access token.

Configuring the plugin in WordPress
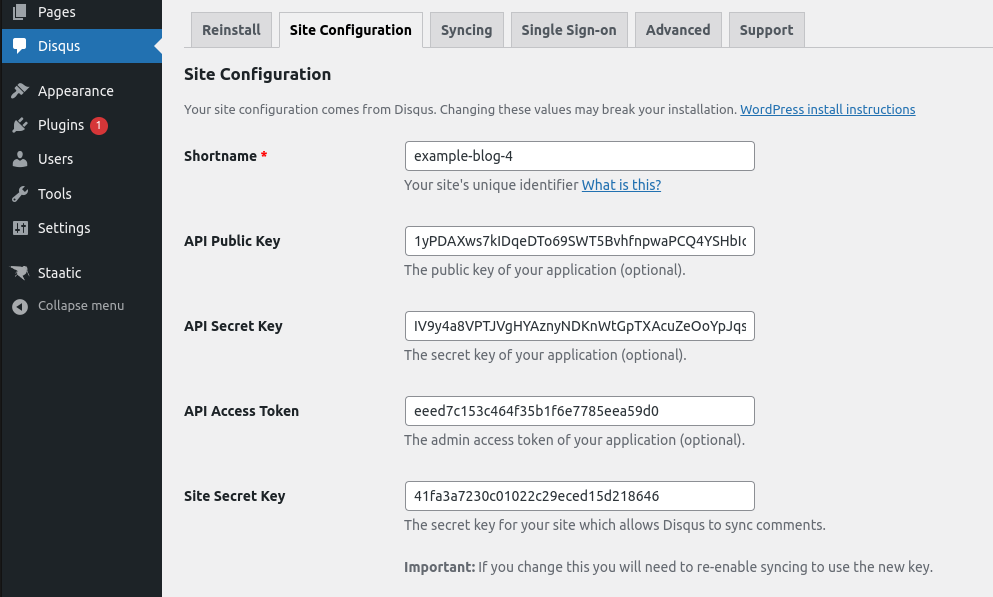
- Access Disqus settings: In your WordPress dashboard, go to ‘Comments’ > ‘Disqus’.
- Enter the shortname: In the settings, enter the ‘shortname’ you chose during the Disqus setup.
- Input API keys: Below the shortname field, input your API public key, secret key, and access token.
- Save changes: After entering all the details, click ‘Save Changes’ to apply the settings.
Finalizing the setup
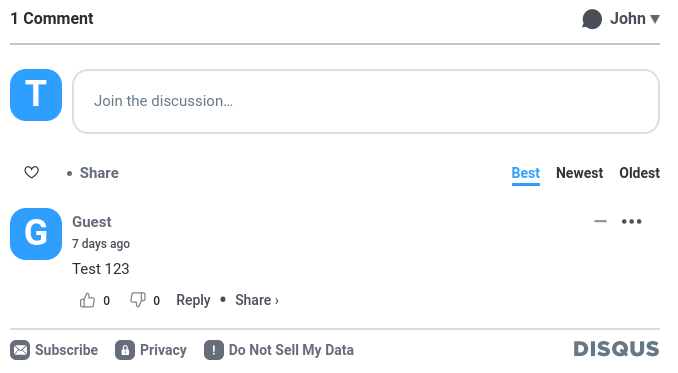
- Check your website: Visit your website and navigate to a post to ensure that the Disqus comment section is visible and functional.
- Adjust settings if needed: If you encounter any issues or want to modify settings, return to the Disqus settings in your WordPress dashboard to make adjustments.
Conclusion
Integrating Disqus into your static WordPress site is straightforward and offers a seamless way to add a dynamic comment system. Disqus not only enhances user engagement but also brings a level of interactivity and community to your static site. With its easy integration and powerful features, Disqus is an excellent choice for WordPress users looking to add a robust commenting system to their static websites.
Tips and best practices
- Regularly monitor comments: Disqus offers excellent spam filtering, but regular monitoring is still essential to maintain quality discussions.
- Engage with your audience: Make the most of your new commenting system by actively participating in discussions.
- Customize the look: Tailor the appearance of your Disqus comments to match your site’s style for a cohesive look.
By following these steps, you can successfully integrate Disqus into your static WordPress site, enhancing the functionality and user experience of your website.