Using Smush to optimize images on your site
Introduction
The Smush plugin for WordPress makes it possible to optimize all of your sites images without a visible drop in quality. There’s also an option for lossless compression which compresses images without affecting the image quality. Other features of Smush include removing EXIF-data from images, resizing images and enabling lazy loading.
Smush comes as a freemium plugin, and while the basic version provides the most important features it is limited to images up to 1MB. Their premium plugin Smush Pro removes this limit and adds additional features including the conversion of PNGs to JPEGs and the serving of WebP images.
Setting up Smush
Step 1
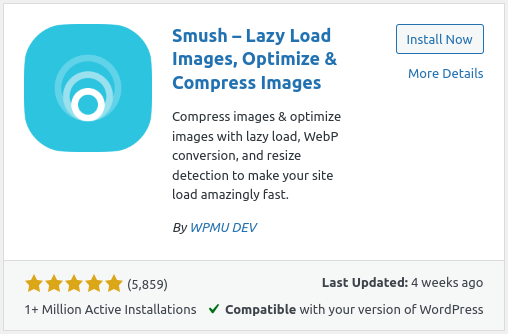
Install Smush from the WordPress directory by searching for “Smush” and clicking Install now. Make sure the plugin author is listed as “WPMU DEV” since there are multiple plugins with similar names. Once installed, make sure to click Activate.
Step 2
Within WP-Admin from the navigation sidebar, go to the Smush Dashboard. The first time you will be greeted with a quick setup wizard.
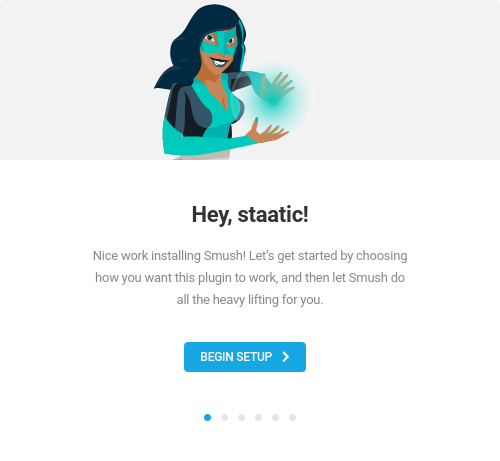
Click Begin Setup and make sure Automatically optimize new uploads is checked. Then continue with the suggested defaults and finish by clicking Finish setup wizard.
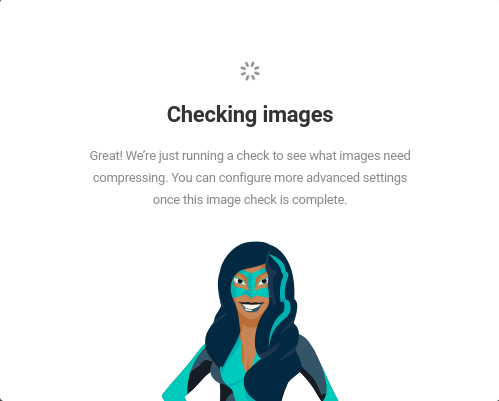
This will start a process that will scan your site’s existing images to determine which ones need compressing.
Step 3
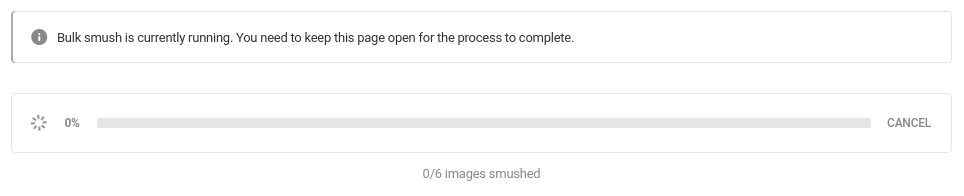
Now that Smush has been configured, you can start compressing your existing images by visiting Smush > Bulk Smush.
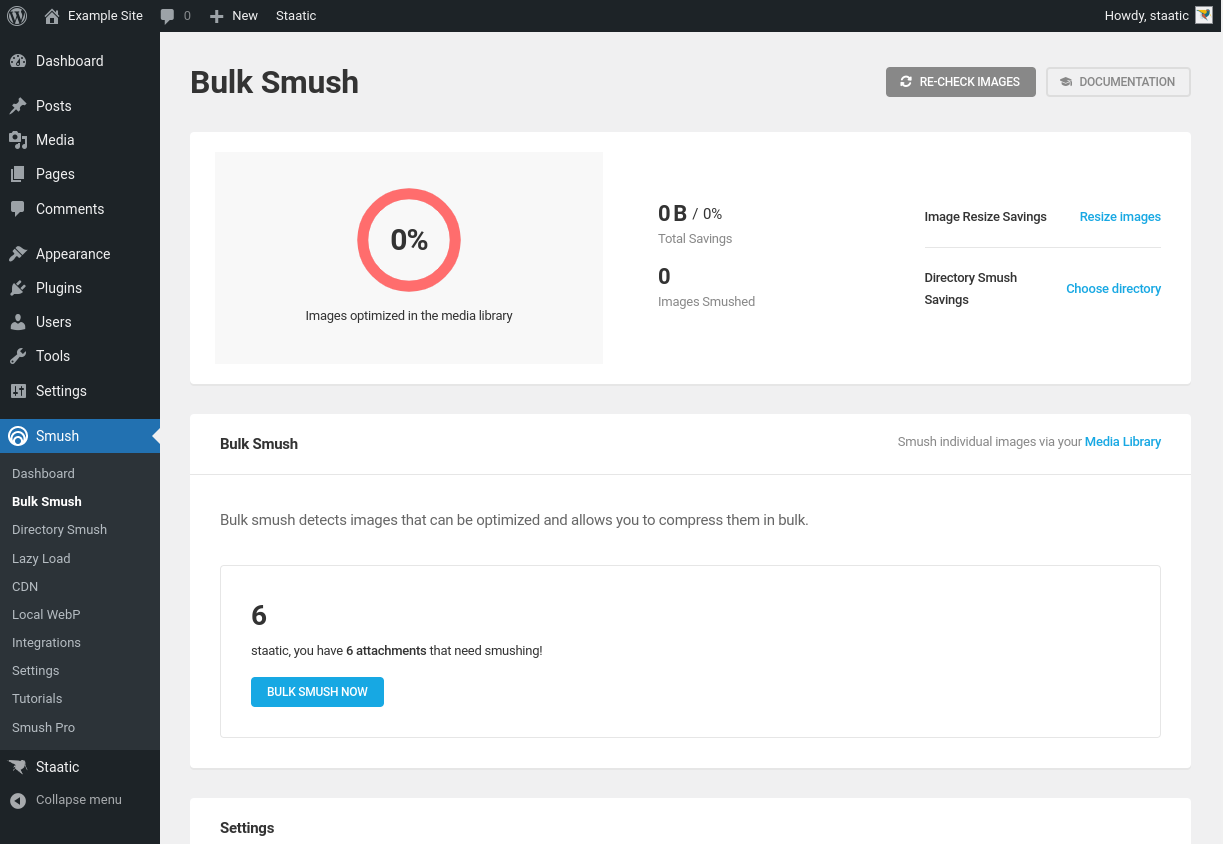
Simply click Bulk Smush Now to start the process.
Note: by default, new uploads will be compressed automatically. This can be disabled by unchecking Automatically compress my images on upload from the Bulk Smush settings.
For detailed information about the Smush plugin for WordPress, have a look at their full documentation.