Using WordPress as a static site generator
WordPress, once started as a simple tool for bloggers has become one of the most popular content management systems (CMS) in the world. This is mainly due to its flexibility, easy of use and massive community.
And while WordPress works great out of the box it needs to do a lot before any requested page is delivered to the end user, every time again. Additionally the theme and plugins you choose add to this. Depending on the amount and type of customizations this can have a negative impact on the performance as well as the security of your site.
About Staatic
Staatic provides a managed WordPress cloud environment, as well as a plugin for WordPress, enabling webmasters to convert their dynamic WordPress site into an extremely fast and secure static site, without having to give up all of the advantages of using WordPress.
It achieves this by creating a static copy of all of the rendered content of your WordPress site resulting in plain HTML files and assets. Instead of having to start and run WordPress (including connecting with your database etc.) for every visit, again and again, all of your site’s content is pre-rendered and simply passed down to the visitor instantly.
This results in an enormous performance improvement, often more than 5 to 10 times faster than what can be achieved with a regular WordPress site. This is turn positively affects the visitors experience as well as search engines rankings (SEO).
At the same time the most significant attack vector is removed making your site not only blazing fast but also bulletproof.
Preparing for Staatic
In this tutorial we will be installing Staatic on a simple WordPress site hosted on a shared hosting server. The only requirement is having WordPress 5.0 and PHP 7.0 or higher.
Since the public site will become completely static and we no longer want to expose WordPress or WP-Admin to the public we will start by migrating our existing WordPress installation to a separate subdomain, e.g. wp.example.com.
Creating a clone of our WordPress site
To prevent any downtime during the migration we will clone our existing WordPress installation from www.example.com to wp.example.com. An easy way to do this is by using a migration plugin. We will be using Duplicator. Other plugins should work as well.
Install the Duplicator plugin from within WP-Admin by going to Plugins > Add New and search for Duplicator. Then click Install Now and Activate.
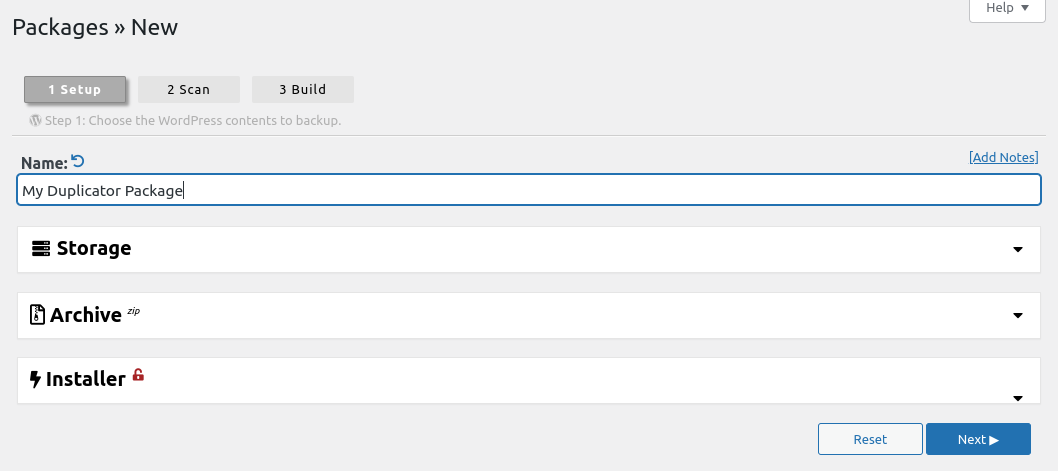
Once Duplicator is installed, in WP-Admin go to Duplicator > Packages and click Create New. Give the package a name or accept the default and click Next.
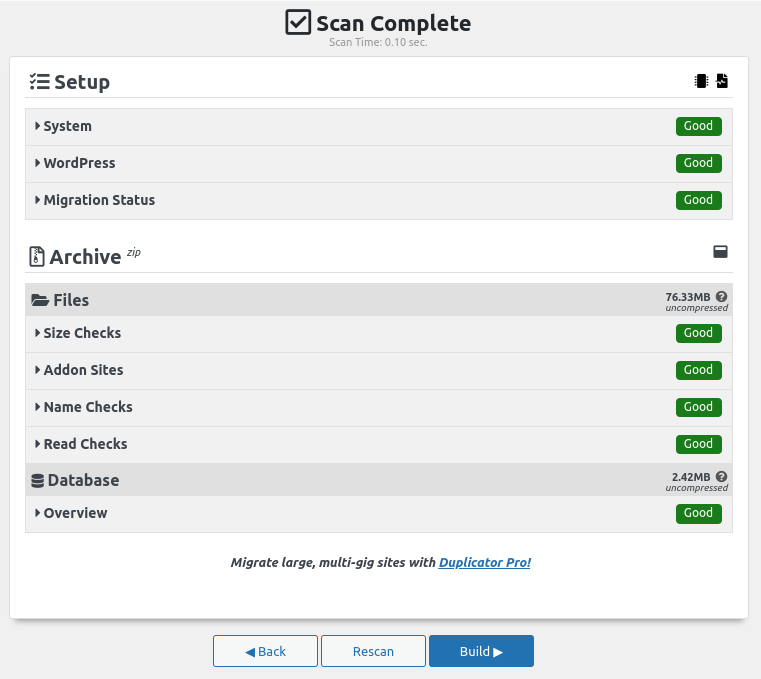
Your WordPress installation will be scanned for potential issues. If everything is good click Build.
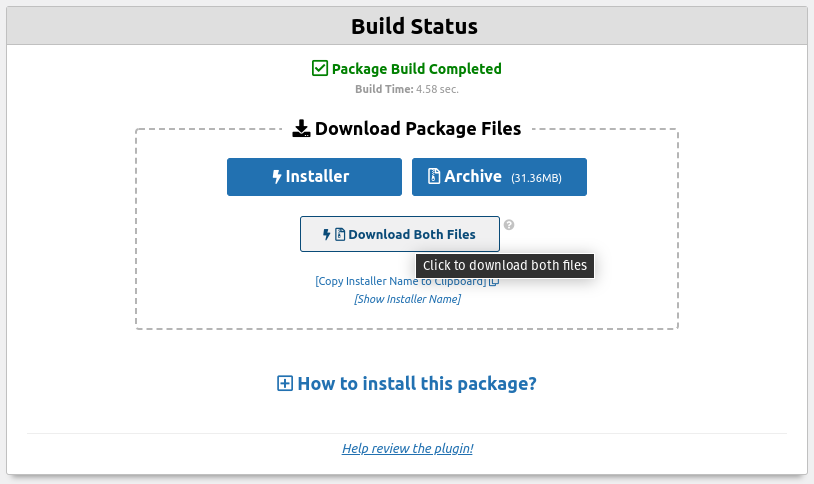
This will generate a package containing a copy of your WordPress installation including all pages, posts, media, themes and plugins.
Finish by downloading the Installer as well as the Archive. We will need these in the next step.
Install the clone on your new WordPress domain
Create a new (empty) site using your hosting control panel where we will install the cloned WordPress installation using the installer and archive files we previously downloaded, for example wp.example.com. Follow the documentation of your hosting control panel for detailed steps.
This site will be hosting your dynamic WordPress installation and will allow you to manage its contents from now on.
Upload the Installer and Archive files to your new site and access the installer by going to your new site’s URL with /installer.php appended to it, e.g. https://wp.example.com/installer.php.
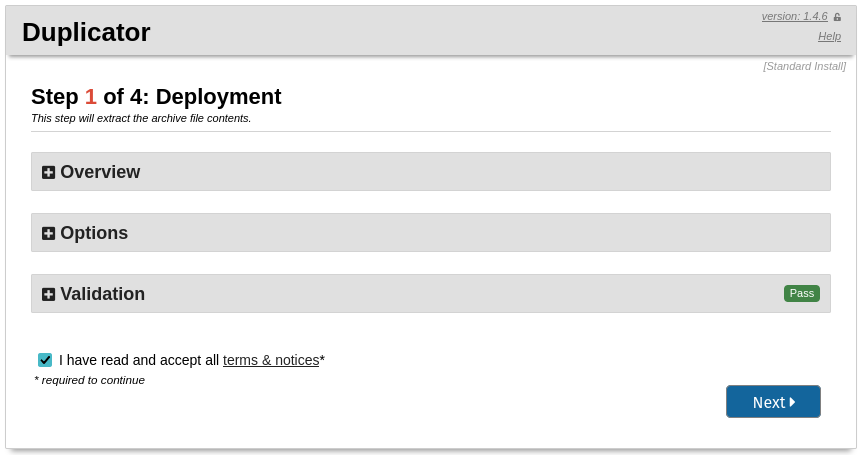
Duplicator will guide you through the steps necessary to install the clone archive on your new site. During installation the URLs and paths will be automatically updated to work on your new domain.
Installing the Staatic plugin
Now that we have a copy of our WordPress site on our new domain we can install the Staatic for WordPress plugin. The original site can be left intact for now since it will later be replaced by the static version of your cloned WordPress site using the Staatic plugin.
Install the Staatic plugin on the cloned site from within WP-Admin by going to Plugins > Add New and search for Staatic. Then click Install Now and Activate.
After installing the first step is to configure the Destination URL. Within WP-Admin go to Staatic from the sidebar and go to Settings > Build. Enter the primary URL of your public site (which will soon become the static site), e.g. www.example.com.
If you have an XML sitemap, feel free to add it to Additional URLs as well. Doing so ensures that all searchable content is included in the static site. Note that you can use the relative path, e.g. /wp-sitemap.xml.
Starting our first publication
Once Staatic is installed and configured we can start our first publication to test whether everything is working properly.
By default, Staatic will deploy the static version of your WordPress site to a directory on the filesystem: wp-content/uploads/staatic/deploy/. Since we are just testing you can leave this as is. After verifying that the publication was successful we will change this.
To start a publication simply click Staatic > Publish in the top navigation bar within WP-Admin.
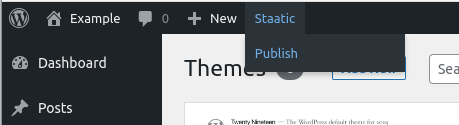
This will start the process of converting all of your site’s dynamic content into plain files and deploy these using the configured method. You can follow its progress on the publication detail page that appears. From there you will also be able to view the related logs and static files (Resources).
Turning the public site static
In order to publish the static version to your public site some final configuration is needed.
Within WP-Admin go to Staatic from the sidebar and go to Settings > Deployment. Update the Target Directory to the document root (public_html or htdocs or similar) of your static site. The actual path depends on your hosting environment.
- In case of DirectAdmin this could be something like
/home/example/domains/www.example.com/public_html; - For Plesk this is usually something like
/var/www/vhosts/www.example.com/htdocs; - Cpanel uses a path like
/home/example/public_html.
Note: we recommend making a backup of your public site before continuing.
When you start a new publication using Staatic > Publish the contents of the Target Directory will be replaced with the static version of your WordPress site.
Note: if there are files or directories that should not be removed when publishing your site, you can add the relevant paths to Retain Files/Directories.
Whenever you need to make changes to your site, use your dynamic WordPress site to do so and when done start another publication to update your static site.