Preparation
Introduction
In order to start using Staatic to power up your site, some preparations are necessary. This guide will cover them step by step.
Migrate WordPress
Note: if you are using Staatic Cloud, you may not need to clone your WordPress site manually. After creating a new cloud site, you can import a supported WordPress backup ZIP directly into the managed WordPress instance. See Importing a WordPress Site.
The goal is to replace your public and dynamic WordPress site by an optimized static version of your WordPress site. In order to manage your public site, you will log in to your dynamic WordPress site on a different (and usually hidden) URL and publish updates to your static site on the primary (and public) URL.
Since your existing WordPress site will be replaced with a static version of your site generated by Staatic, you will need to migrate your current (dynamic) WordPress installation to another location.
To migrate your WordPress installation to a new location, instead of moving everything manually we recommend making a clone of your existing site. This will allow for an almost zero-downtime migration without the risk of loosing important data.
There are many WordPress plugins that can help you with this. One plugin that we have good experiences with is Duplicator, but any other migration plugin should work fine as well.
This guide will explain the steps necessary to migrate your existing WordPress installation to another location using the popular WordPress migration plugin Duplicator.
Note: If you have a Multisite installation of WordPress and want to migrate all sites at once using Duplicator, this requires Duplicator Pro which is not free.
We will be assuming that you have your WordPress installation setup on “www.mysite.com“, and you are going to migrate it to “wordpress.mysite.com“, making it possible to use www.mysite.com to host the static version of your site.
We will also be assuming that you have administrator access to both locations.
1. Preparing the new location
Before starting with the migration process, make sure that the new location to host your WordPress installation is setup.
Preparing the domain
Make sure that the (sub)domain (“wordpress.mysite.com”) is created on your server and accessible.
Note: This is a great moment to restrict access to the new location to prevent anyone from accessing the cloned WordPress installation.
Preparing the database
Since we will be cloning your current WordPress installation to the new location, a new (empty) database will need to be created as well. Note the database details since we will need these when restoring the clone.
2. Create Duplicator Package
The first thing we will need to do is to install the Duplicator migration plugin on your current WordPress installation.
- From the Dashboard, click Plugins > Add New.
- In the Search field, enter Duplicator and choose Duplicator – WordPress Migration Plugin to install.
- After installation click Activate.
After the plugin is activated a Duplicator menu item will be visible within your WordPress admin. Click on the Duplicator menu and then click on the create button to create a new package.
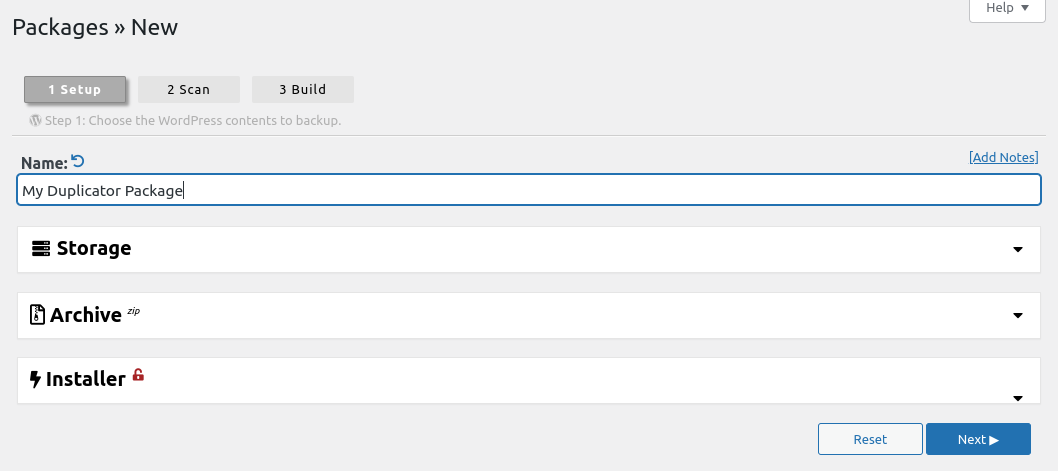
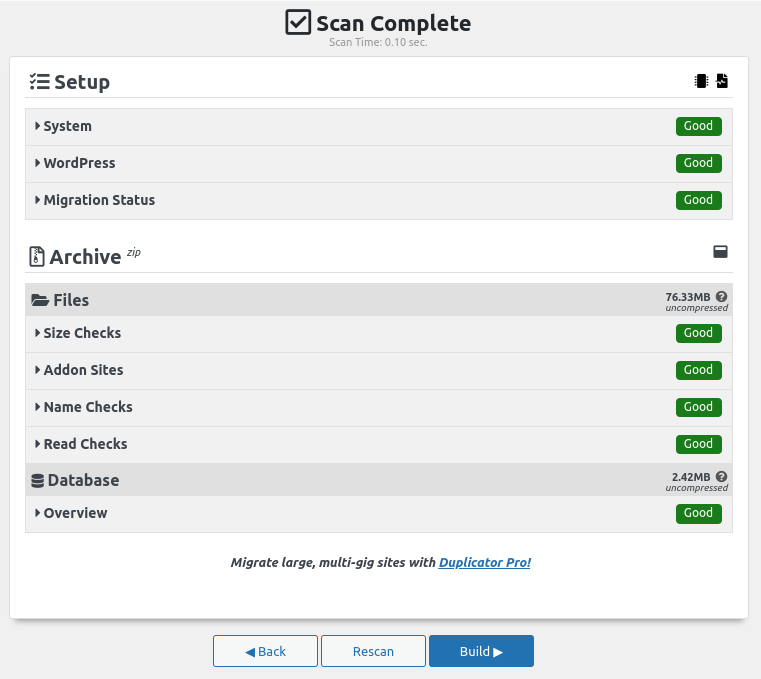
This will start the Website Duplicator Wizard and immediately run some tests to verify whether everything is in order. Review the System Scan result and everything is okay click the Build button at the bottom.
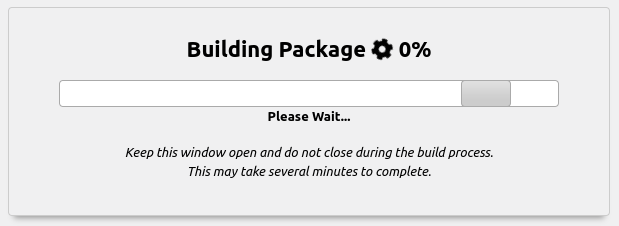
Duplicator will now start creating a package of your WordPress installation which may take a few minutes depending on the site of your site.
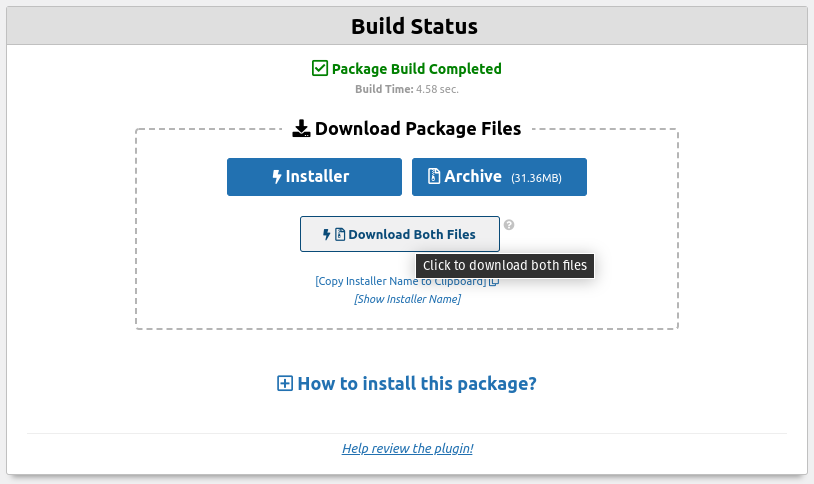
After the package has been built download both the Installer and Archive file which will be needed later. The archive file contains your complete WordPress site and the installer file allows you to extract the archive on the new location.
3. Extracting Duplicator Package
In order to extract the duplicator package on the new location you will need to upload both the Installer and Archive files created earlier to the new location of your WordPress installation.
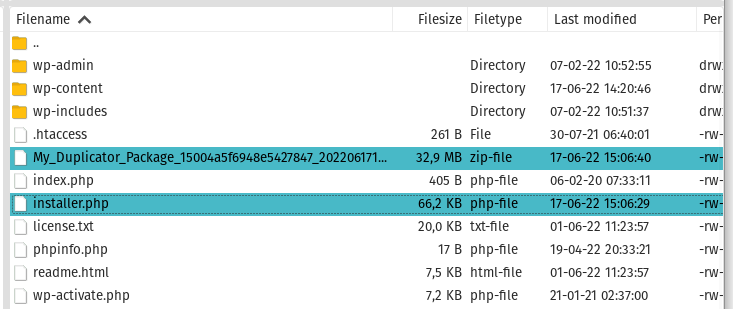
Once uploaded, within your Browser access the installer:
https://wordpress.mysite.com/installer.php
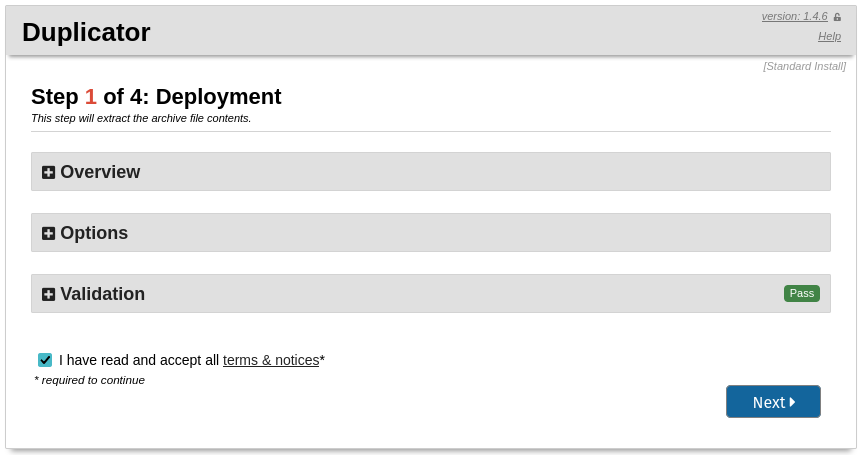
This will present the Duplicator migration wizard.
The Archive should be recognized and if validated correctly check the checkbox to accept the terms & notices and click on Next to continue.
The installer will now ask you for the database details. Enter the details of the new database that you created earlier and click on Next to continue.
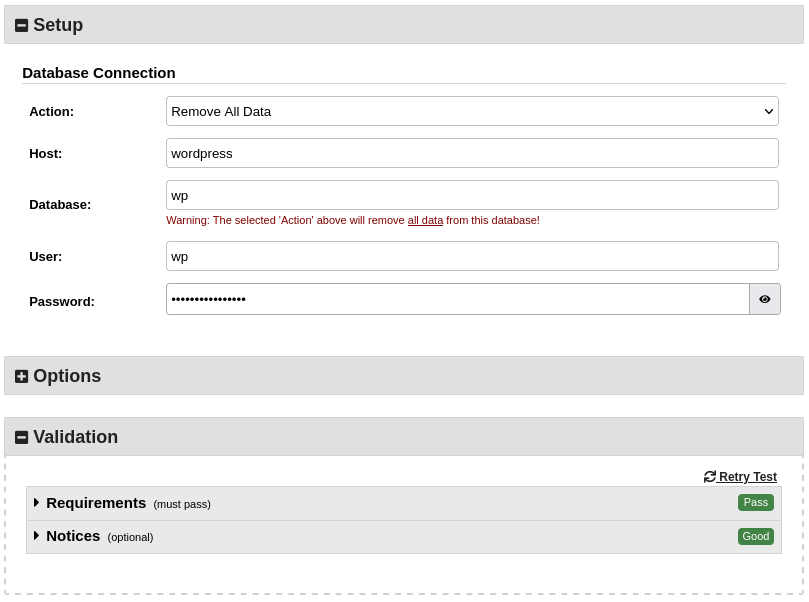
Duplicator will now extract all of the files and database tables on the new location using the uploaded Archive file.
On the next step Duplicator will allow you to change some setting on the cloned WordPress installation. Verify that the new URL matches the URL of the new location (in this case https://wordpress.mysite.com) and keep the rest the same. Then click on Next to continue.
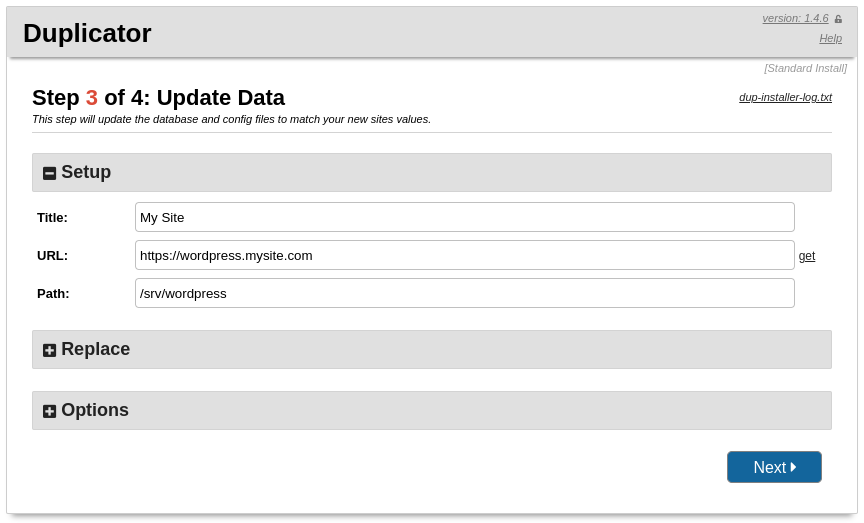
When Duplicator finishes the migration you can login to your cloned WordPress installation.
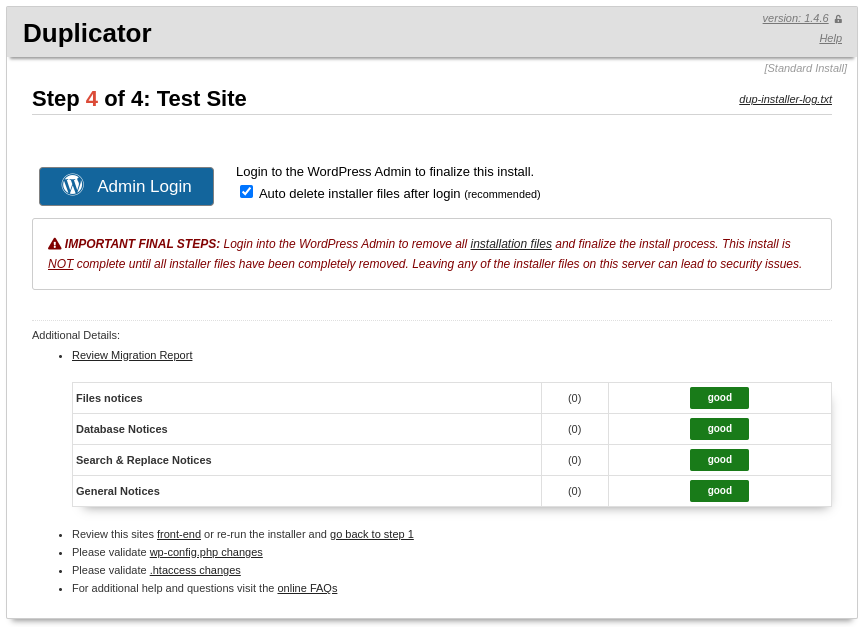
Note: Make sure to delete both the Archive and Installer files after finishing to prevent anyone from downloading a complete copy of your site.
The original WordPress installation on your public facing site (www.mysite.com) will later be replaced by the static version of your site. For now it is best to leave it as it is.
Restrict access to WordPress
It is important to prevent the dynamic WordPress version of your site from being publicly accessible since that could cause duplicate content and negatively impact your site’s SEO, and expose your dynamic WordPress installation making it vulnerable to attacks.
The easiest way to accomplish this is by using HTTP basic authentication. HTTP basic authentication protects resources or routes with a username and password. When anyone attempts to access the protected resource, their browser pops up a dialog asking for credentials before sending anything over.
Another way is to restrict access to the site based on the visitor’s IP addresses. In that case do make sure that the server’s IP address is allowed since our plugin needs to be able to access the site in order to generate the static version.
Setting up HTTP basic authentication
Setting up HTTP basic authentication differs depending on your hosting environment. Many hosting providers provide a control panel with built-in capabilities to enable HTTP basic authentication.
Here are a couple of examples:
- Cpanel: “Directory Privacy”
- DirectAdmin: “Password Protected Directories”
- Plesk: “Protected Directory”
In case you are managing your server without a control panel, we have collected the following resources to help you.
Determine deployment strategy
Staatic allows you to publish your static site to the same server that hosts your WordPress installation as well as on any of the supported cloud providers, including Staatic Cloud.
Depending on the deployment strategy that you choose additional preparation might be needed. Please check the documentation of the chosen deployment method for more information.